PO Modular 400 Assembly
- Posted on
- Posted in diy assembly tips
- 0
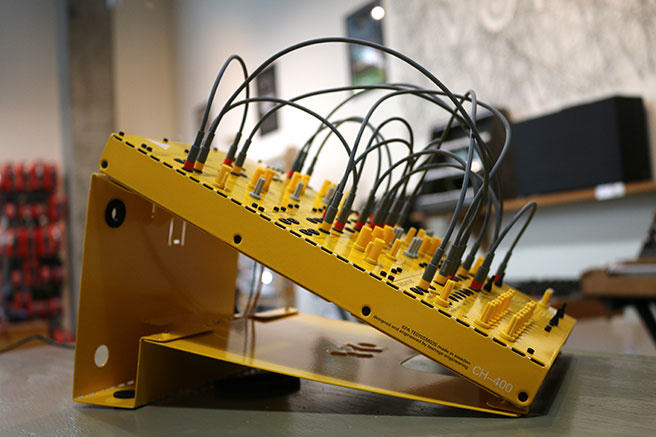
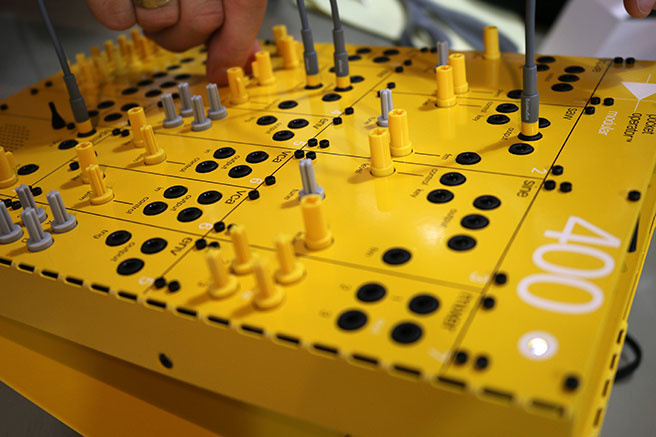
We put Teenage Engineering's first modular system together, here's the pics from our workbench with a few tips to help you hit the ground running...
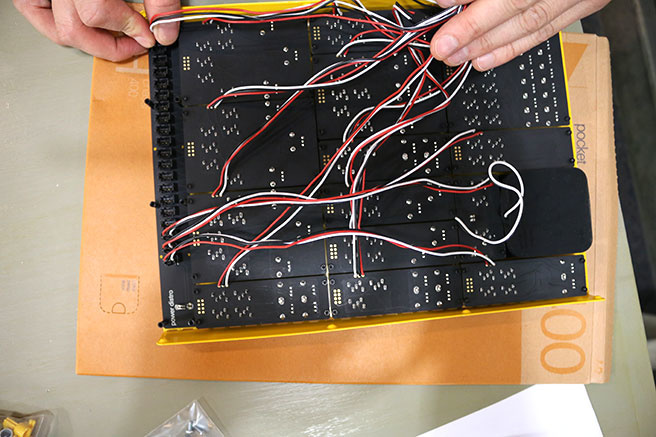
What started off as us assembling our CV shop PO Modular 400 demo unit and shooting a couple pics sort of evolved into a bit of step-by-step (albeit, in the vein of one-two-skip-a-few...) tutorial. Since we were assembling the whole thing, we documented the rough order of the build process as well as a few things that came up during our assembly. We were a little surprised that it's not a quick build, taking us just over two hours from start to finish, and hopefully the things that came up during our build may help you with your's. With that in mind, here's a couple tips and suggestions:
Tip 1: If possible, having an additional Torx screwdriver will make things much easier; as will a jar to hold all your screws and standoffs. They're tiny.
Tip 2: Read and look over each step 3 times before executing.
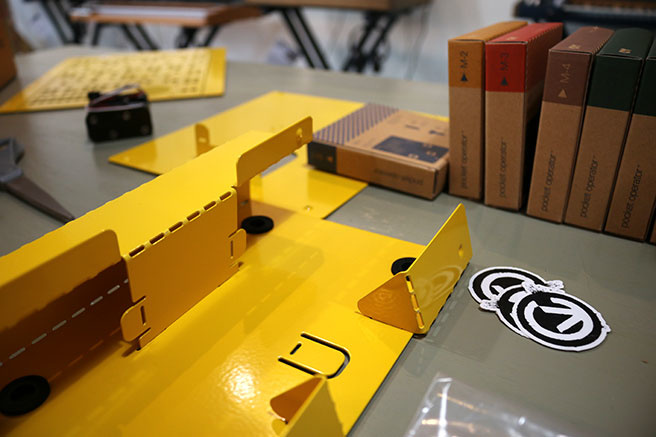
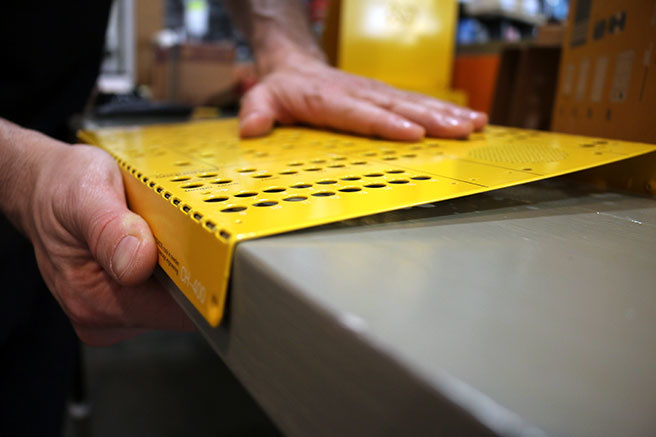
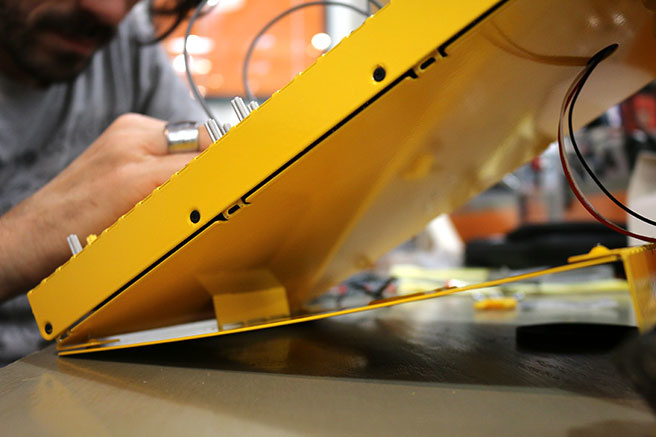
Tip 3: Regarding bending the faceplate - think twice, bend once. You barely get a second chance if you bend the metal the wrong way. And using the edge of a table to evenly bend the metal worked well for us.
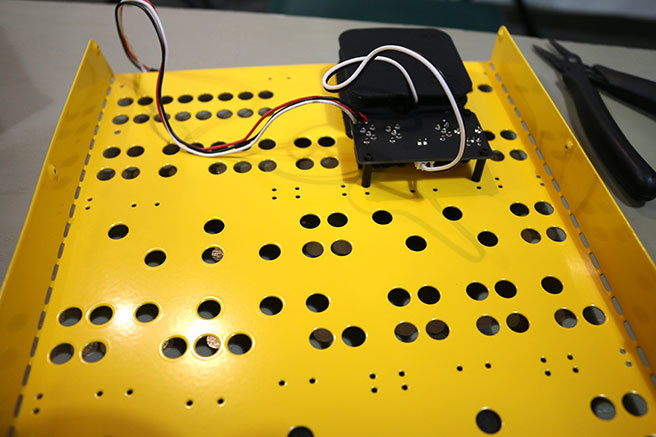
Tip 4: When you're ready to install modules into the faceplate, start with the bottom ones first like the speaker and sequencer.
Tip 5: Prior to attaching the populated faceplate onto the chassis, pre-thread (twist a screw in and back out, one time) the tabs that the faceplate screws into, this will make final assembly much easier.


Comments
Be the first to comment...